How to Verify Your Twitch Account: Email, Phone, and 2FA

BoostStream's digital analyst. Tracks metrics, platform rules and chat tools, including AI bots, and writes about growing a channel without putting it at risk.
15 November 2026
Leer en españolЧитать на русском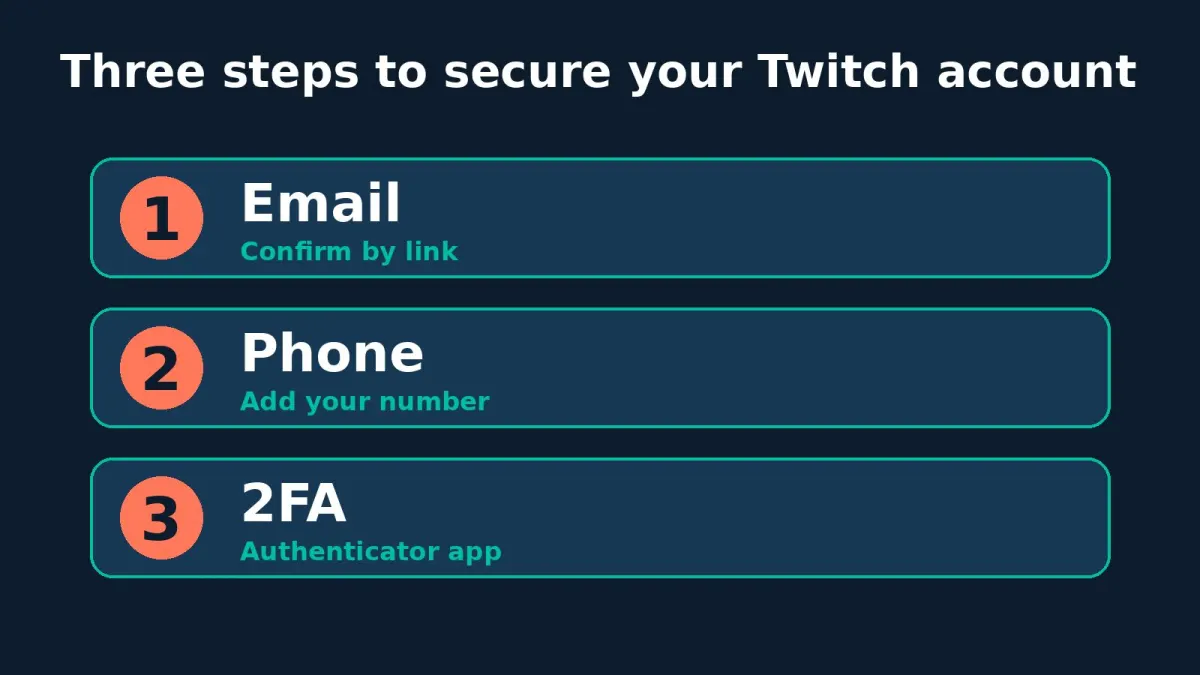
A fresh Twitch account does not work at full strength until you verify your email and lock down your login. Skip it and you can run into chat limits and, more importantly, lose access to your stream key and payouts. Here is how to verify your Twitch account step by step, and what to do when something does not work.
What you need to verify and why
Twitch has three layers of protection, and none of them replaces another:
| Step | What it gives you | Required for streamers |
|---|---|---|
| Verified email | Chat, following channels, security emails | Yes, the account is restricted without it |
| Verified phone | Access to chats set to verified-only | Recommended, often needed for chat and recovery |
| Two-factor authentication | Stream key, payout settings, protection against hacks | Yes, needed to stream and to monetize |
If you are just starting out, go in this order: email, phone, then 2FA. The whole thing takes about ten minutes.

Step 1. Verify your email
- Open Twitch and go to Settings, then Security and Privacy.
- Check that the email on file is a real inbox you use every day.
- Request the confirmation email and open it.
- Click the link in the message, or enter the code if Twitch sent one.
If nothing arrives within a few minutes, look in Spam and Promotions. Avoid disposable addresses: you can lose access for good if that inbox is closed. Pick an address you will keep for years.
Step 2. Add your phone number
There are two reasons to do this. Many streamers turn on a chat mode that only lets verified accounts write, and without a number you cannot talk there. A number also helps you recover the account if you lose your login.
- In the same settings, find the phone number section.
- Enter the number in international format, with the country code.
- Type the code from the text message.
Twitch may only allow a limited number of accounts per phone number. If you run several channels, use separate numbers and do not swap them without a reason.
Step 3. Turn on two-factor authentication
Twitch 2FA means a password alone is not enough to log in: you also need a one-time code. It is 2FA that unlocks your stream key and payout settings, so for a streamer it is not optional.
- In the security section, choose to set up two-factor authentication.
- Pick a method: an authenticator app or SMS. The app is more reliable, because the code does not travel over the carrier network and does not depend on signal.
- Scan the QR code with the app and enter the six-digit code.
- Save the backup codes. This is the step everybody skips.
If 2FA will not turn on, the usual cause is simple: the email or phone is not verified yet. Go back to steps 1 and 2.

Common mistakes
- The email went to spam. Check every folder and add Twitch to your trusted senders.
- No 2FA backup codes. Lose the phone with the app and you lose the channel. Store the codes in a password manager or print them.
- An old email on the profile. Login alerts and password resets go there, and you never read it.
- A new phone without moving 2FA. Before switching phones, transfer the authenticator app, or turn 2FA off and on again in advance.
- One password for everything. A breach at another service should not hand over your channel.
What comes next
Once the account is verified and protected, you can set up the key in OBS and go live. So your first streams do not play to an empty chat, BoostStream has a free test: 10 viewers for one hour, so you can see how your channel looks with a live audience.